A kind friend in the US – you know who you are, thank you! –
recently sent me a copy of a fascinating magazine article about the restoration
of a garden Stateside. The lady who had
originally created the garden had what can only be described as a very clear
vision for what she wanted, to the extent of having trees pruned so that the
branches were in the exact position she had in mind. She was definitely an Organised
Gardener. Much as I admire such
perseverance, focus and commitment, I have to admit that I am a Disorganised
Gardener. I am, however, attempting to
remedy this.
The area I’ve been concentrating on most these past weeks is
the veg plot. It hasn’t been all that
productive in recent years, for a number of reasons, including the
unavailability of some of the beds (weeds or too much shade – the plum and big
apple tree, and next door’s ash tree, have grown much bigger and shadier since
I first created the veg patch), poor, worn-out soil and my failure to get
properly to grips with crop rotation.
Crop rotation sounds easy in principle. You have areas for beans/peas; onions and
their kind; brassicas; and potatoes/roots; and each year you move each group to
a new area so that any group only occupies the same patch once every four
years. I have 12 veg beds, plus two
little ones, so this ought to be straightforward – three for each group. However it presupposes that you want to grow similar
quantities of each group, and it also gets complicated by the fact that not all
crops go in and come out of the ground at the same time. Some crops are autumn-planted, most go in in
spring and some in summer; some are there for only a few weeks (the summer
beans, for example), most for a few months and the brassicas are there for not
far short of a year. Leeks are sown in
spring, are transplanted elsewhere in summer and stay there until late winter
or early spring, so really need two beds at least.
Trying to match up all of these comings and goings is a bit beyond me;
this year I snuck my leek transplants into the place where the broad beans had
been, but that was really leaving it too late.
Then there’s the question of where to fit in the salads (anywhere you
can, is the usual advice), crops like courgettes and interlopers such as
flowers for cutting.
I do keep records of what I’ve planted where, and I try hard
to move each group to a new place each year, but I’m not good with succession
and often find that my veg beds sit empty for long periods of time while I
decide what to do with them. When I have
seedlings to plant out – I don’t sow much in situ as that never seems very
successful (slugs?) – I’m reluctant to commit them to any particular place in
case I find, some months down the line, that I really needed that bed as a home
for the garlic or the runner beans. It
doesn’t help that not all of my little veg beds (I can’t really call them
raised beds, although that was the intention; they’re not raised very much!)
have been usable. A couple – the
shadiest ones – have been used in recent years as a (supposedly) temporary holding bed
for plants that need to be moved elsewhere; they haven’t been properly worked,
for example by adding organic matter, for quite some time and the soil is very
poor as a result. A couple of the others
were very seriously overrun with weeds, mostly couch grass and big clumps of
Deschampsia cespitosa, a desirable and decorative grass in itself but allowed
to seed much too freely (the original plant was put there for want of a proper
home and never taken out). These two
beds were part of the central area given over to four L-shaped beds grouped around a
small central bed (the latter marked by the post on the right-hand side of the photos below), but however nice this looked on paper, on the ground
maintenance involved a lot of zigzagging about, and I started turning them into
four square beds (and removing the central one).
One of the four is the Hill (not very productive this year; sowing seeds
into a steep-sided mound didn’t work too well, and the slugs seem to have
discovered how to climb it), and one other bed had been successfully squared
off to accommodate the garlic; but the other two sat in weedy, grassy splendour while I
contemplated how to shift the gravel laid down for the path and put in some
soil to turn the Ls into squares.
 |
| Step 1: weeds dug out, but corner of the L still to be filled in |
 |
| Step 2: squared off, cardboard and mulch laid down |
Then I got interested in no-dig.
A fellow villager uses the no-dig regime very
successfully, and I thought I would give it a go, particularly for these two
weedy beds.
Basically no-dig involves
disturbing the soil as little as possible (so as not to upset the balance of
underground microlife and to minimise weeding), instead working the ground by mulching heavily in early
winter and planting directly into that; and clearing weedy ground by mulching
the weeds out over winter (see
https://charlesdowding.co.uk/start-here/ ).
The very
tussocky grass, however, presented a bit of a problem; it would have taken a
huge volume of mulch to bury it effectively (you’re supposed to use a strimmer,
but I don’t have one), so I confess that I started my no-dig regime by, er,
digging the weeds out.
I also needed to
restore where the paths were meant to be, move as much gravel as reasonably
possible there and shift soil from the little central bed into the missing
corners of the two squares.
Even after
the digging, I know from experience that there will still be couch grass roots in there, so the
full no-dig ground-clearing process was followed: cardboard or thick paper on
the two beds and their surrounding paths, then a layer of mulch (grass
clippings and bought-in mushroom compost) over the cardboard on the beds,
topped with black polythene (re-used from other long-ago gardening
experiments).
All now tucked up until
spring or summer, with occasional spots of minimal-disturbance weeding where the grass
tries to poke through.
 |
| Step 3: black plastic on top - all tucked up! |
I’ve started no-digging the other beds too; the one where
the garlic had been has been raked over, mulched with leaf mould and bought-in
compost, and spinach and the like sown for some winter/spring greens.
Another bed had a thinner layer of leaf mould
(this bed had compost put on it last winter, so is in better shape anyway) and
land cress, corn salad and turnips sown.
Some of these seeds are old, but if they don’t come up nothing is lost,
and if they do, it’s all to the good.
I'm getting strict with myself about not hoarding old seed packets. Likewise, to provide some more greens some late-sown brassica seedlings went in under netting – a few
that had been in the cold frame already had to have cabbage white butterfly
eggs and caterpillars removed from them!; they
can have some mushroom compost packed around them once they’re big enough to
cope.
Things are starting to look
tidier, and dare I say, more organised; I hope it’s a first step on the road to
better productivity!
 |
| Looking tidier |
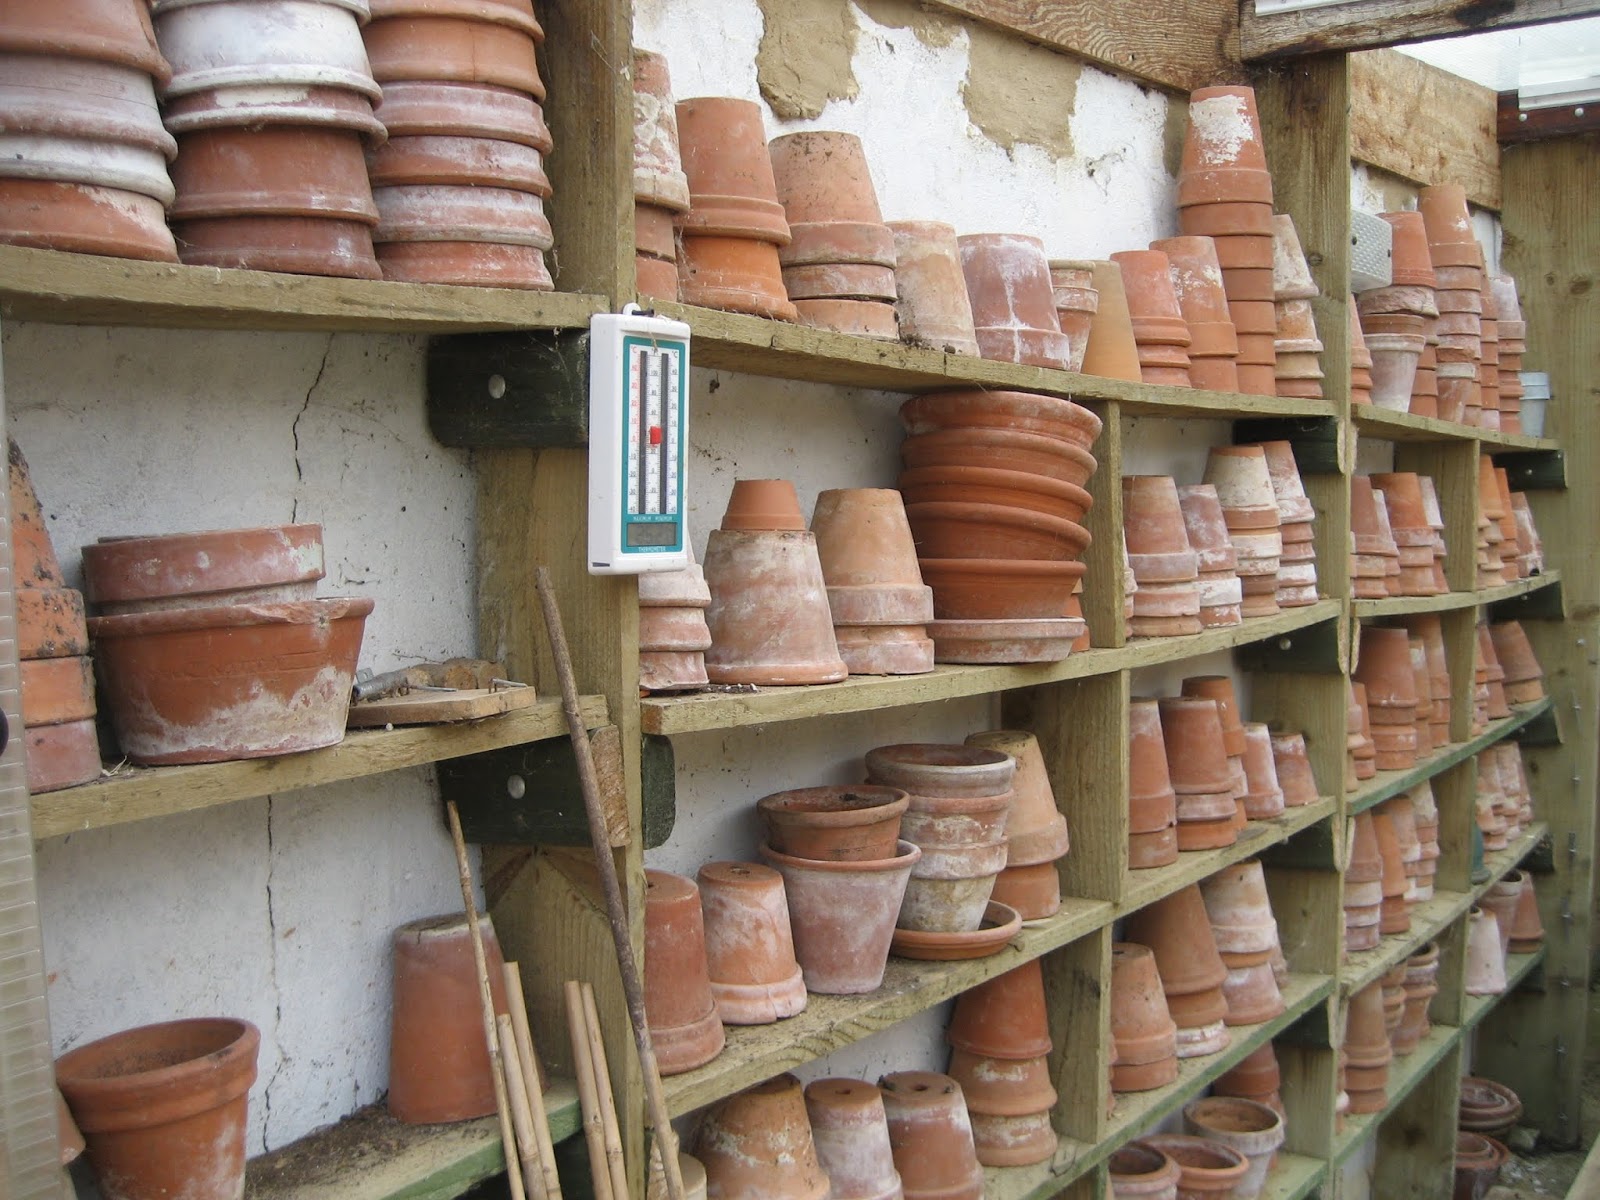
The greenhouse also needs some organisation; it's cluttered with plastic tubs (ex-fatball containers) and old compost sacks, which are very useful but perhaps not in quite the quantities I keep. On a recent visit to Bourton House gardens I couldn't help but admire their potting shed - a model of organisation!
 |
| Bourton House's very organised potting shed |


No comments:
Post a Comment